Part 1: Authenticating with Azure Media Services
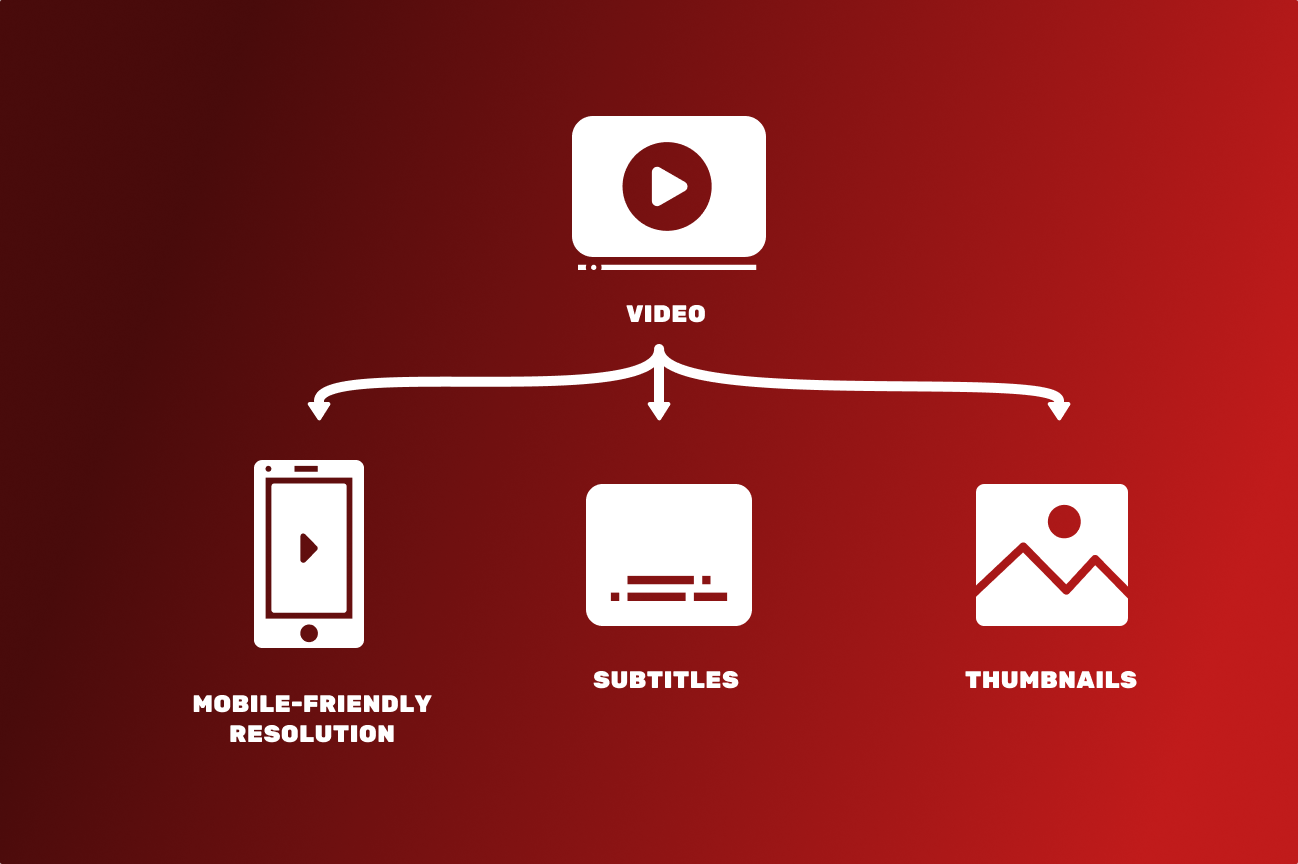
Azure Media Services is a service that can encode video for mobile devices, generate thumbnails, and even create subtitles from audio tracks. It’s powerful and cheap, and I wanted to use it in an application.
Sadly, there is no official API for .NET Core.
In this tutorial, I will demonstrate how to create a bare-bones REST connector for Azure Media Services in C# and .NET Core 2.0. We will start by building a project that can talk to Azure Media Services.
Creating the Project
Let’s start by creating our new project. For this demonstration, we will create a simple console application, but all of the principles should work just as well in a web application.
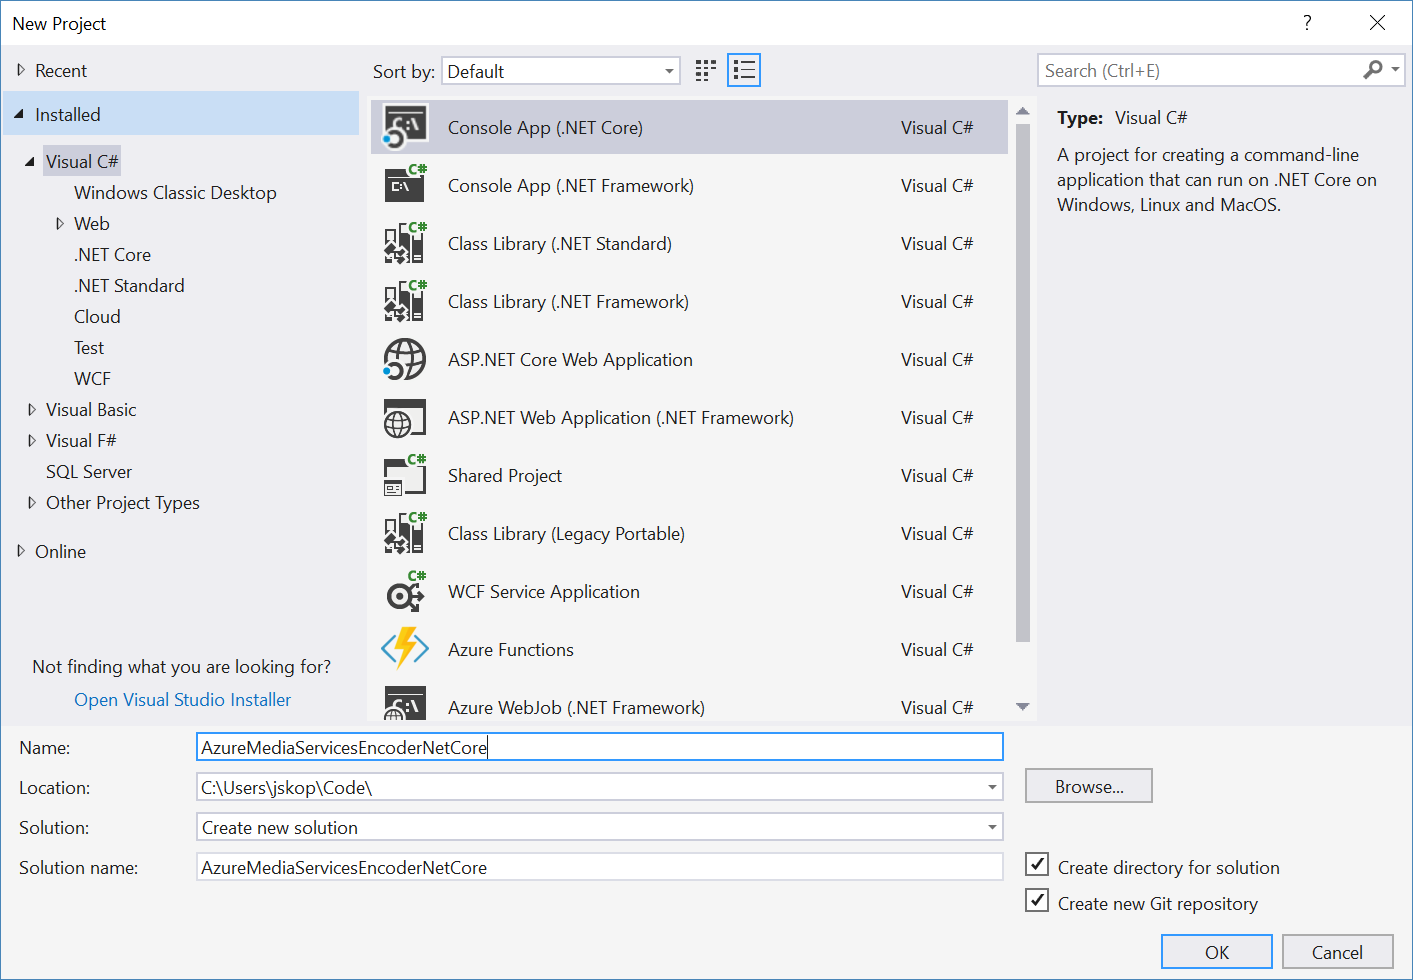
Open Visual Studio and create a new “Console App (.NET Core)” project:

You should now have a simple project that outputs “Hello World!” to a console.
Time to spice things up a notch.
Setting up our Azure Media Services Account
Before you can even start to think about talking to Azure Media Services (or AMS, for short), you first need to create an Azure Media Services account via the Azure portal.
Once your Azure Media Services account is created, you will need to create a client id/secret pair and download the required connection information. This includes:
- Azure Active Directory tenant domain
- REST API Endpoint
- Client ID
- Client Secret
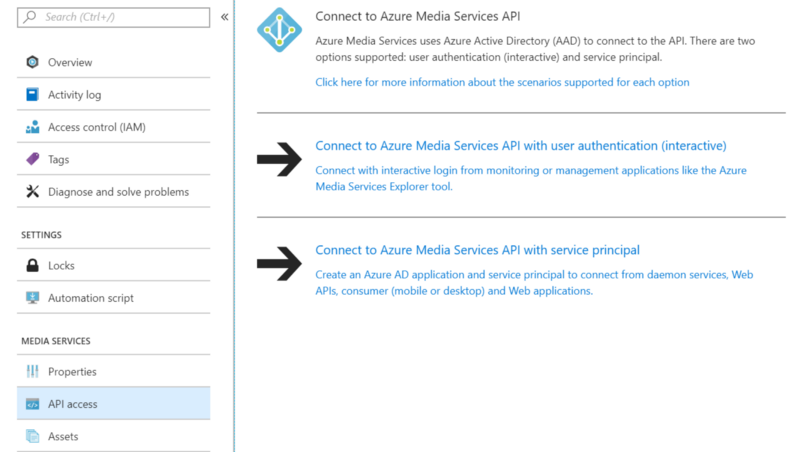
The AAD tenant domain and REST API endpoint can be found by clicking on your Azure Media Service instance from the Azure portal, then clicking on “API Access” and then “Connect to Azure Media Services API with service principal”.

You will then see your tenant domain and REST API endpoint.
You may generate a Client ID and Secret from this part of the Azure Portal. The interface is clunky and hard to follow, but Microsoft has a decent guide for how to generate the client information.
Once you have the required information, add it to the main method of your console program. This is a bad approach in practice — it is important to never hard-code sensitive data into code or commit it into a repository — but we’re going for the simplest possible solution to start.
Open example codeNow that our credentials are accessible, let’s start building the REST service
Building our Azure Media Services Client
Let’s create a new class to serve as our Media Encoder Service. Create a Services folder within the Solution Explorer, then create a MediaServices class within the newly created folder.
Open example codeNow let’s create a constructor that takes the configuration values and stores them internally
Open example codeWe will need to create an HttpClient instance that will be used to communicate with the AMS REST API. Let’s initialize that client and set the proper request headers:
Open example codeCreate a new HttpClient in the newly created MediaService class
Pay close attention to the request headers! The AMS API is very sensitive to these values, and any omission or altered value will likely trigger one of many fairly obtuse error messages.
The next step is to request an access token from AMS. This will allow us to authorize our subsequent requests to AMS. In the MediaServices class, create a method named “InitializeAccessTokenAsync”. The following code will request a token from AMS:
Open example codeRequest an Access Token from AMS
Thanks to the azure-media-services-core SDK created by Shawn Mclean for the code.
In the main Program.cs file, initialize a M*ediaServices *instance and request an access token:
Open example codeInitialize MediaService instance and request a token
This will require converting the Main program into an asynchronous task. NET Core 2.0 supports asynchronous console-based commands, but the program’s .csproj file must explicitely specify a LangVersion of latest. Your .csproj file may look like this:
Open example codeRun the project, and you should have an HttpClient that has been authorized with your access token.
Congratulations! You have created a MediaServices class and successfully authenticated with your Azure Media Services instance. At this point, your code should look something like this project.
Part 2: Uploading Videos to Azure Storage
We now have a MediaServices class that can communicate with Azure Media Services and establish an authentication token. Now let’s upload a video to Azure.
How files are uploaded to Azure
Before we can upload a video file to Azure, we need to define an Asset, an Access Policy, and a file Locator.
Assets are collections of video, audio, image, or text files with corresponding metadata. The files attached to an Asset instance can be encoded or streamed using AMS.
Access Policies define the permissions and access timeframes for an Asset. An Access Policy with upload permissions must be defined before a file can be uploaded to an Asset.
Locators provide an entry point to access files in an Asset. Locators can be configured with Shared Access Signatures for additional permissions, such as the ability to upload a file to the locator address. Locators require a corresponding Asset and Access Policy before they can be created.
Generating an asset
Let’s start by creating the method to generate an asset:
Open example codeThis method takes an asset name and a storage account name and creates an Asset instance in Azure Media Services. Note that the method returns an instance of an Asset class. This can be defined with the following code:
Open example codeGenerating an Access Policy
Next, let’s create a method that generates an Access Policy in AMS. Insert the following method in your MediaServices class:
Open example codeGenerating a Locator
Finally, let’s create a Locator instance that will be used when uploading the file. Insert the following code in your MediaServices class:
Open example codeThis method returns an instance of a Locator class, which can be defined with the following code:
Open example codeFinally, let’s tie it all together by calling these methods from the main Program.cs file:
Open example codeUploading a video to Azure Media Services
Now that we have a locator instance for an asset with an upload-enabled access policy, we can upload a file to Azure. Let’s start by creating a method that takes a file stream, an Asset instance, and a Locator instance:
Open example codeOnce the file has been uploaded to the locator, we must generate a file info request before the file is registered to the asset. The following code generates a file info request:
Open example codeFinally, let’s tie it all together in the Program.cs file. This code demonstrates an example upload:
Open example codeYour should now have a video file uploaded and registered to an asset.
Your code should now look like this.

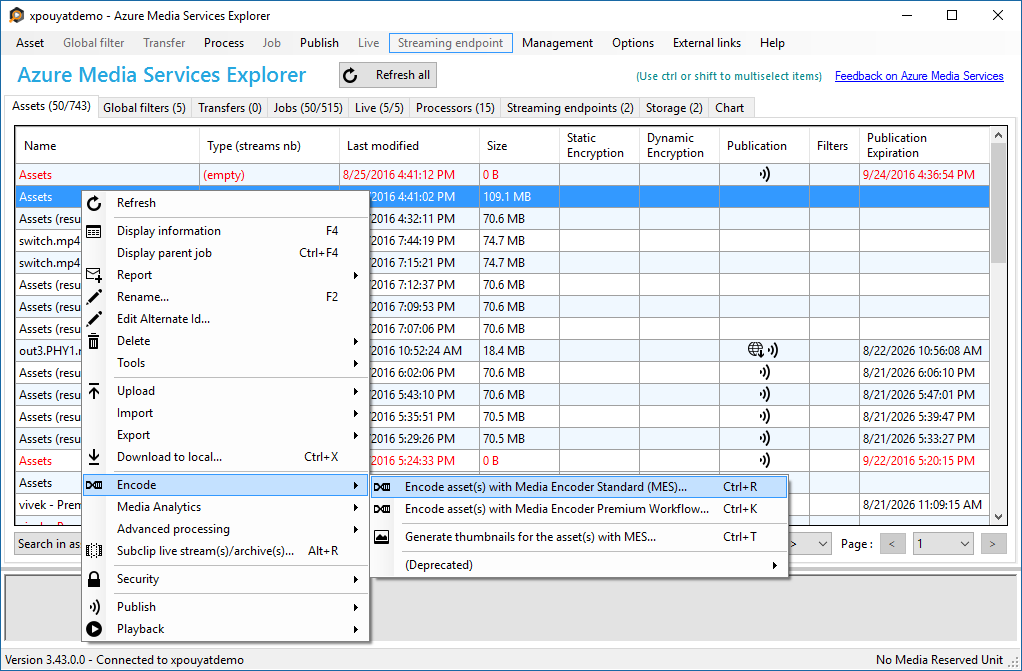
If you are having trouble determining the state of your Azure Media Services account, you may wish to install the Azure Media Services Explorer. This tool provides a nice GUI for navigating your Azure Media Services instance.
Part 3: Running an Azure Media Services Job
Now that an Asset has been created and a file has been uploaded to it, let’s run an encoding job on it.
Before we can create an encoding job, we must request an Azure Media Services media processor. AMS has many media processors, each of which can do different tasks. Some of these include:
-
Video thumbnail generator
-
Optical character recognition processor
-
Face redactor/blurring
-
Motion detection processor
-
Face detector
-
Hyperlapse time-lapse encoder
-
Transcript/subtitles generator
The Azure Media Services media processors are described in more detail in an article from Microsoft.
Request a Media Processor
In the MediaServices class, create a method that retrieves the ID of a specified media processor:
Open example codeCreate a Job
In the MediaServices class, create a method that generates an encoding job:
Open example codeRunning a video encoder job on an asset
Now that we have the ability to request a media processor and generate a job, let’s run an encoding job on our uploaded video file from the main Program.cs file:
Open example codeCongratulations! You should now have a video encoding job running on your newly uploaded asset.
Your code should now look like this.
You now have everything you need to upload video files to Azure Media Services and run a number of different encoding jobs.
